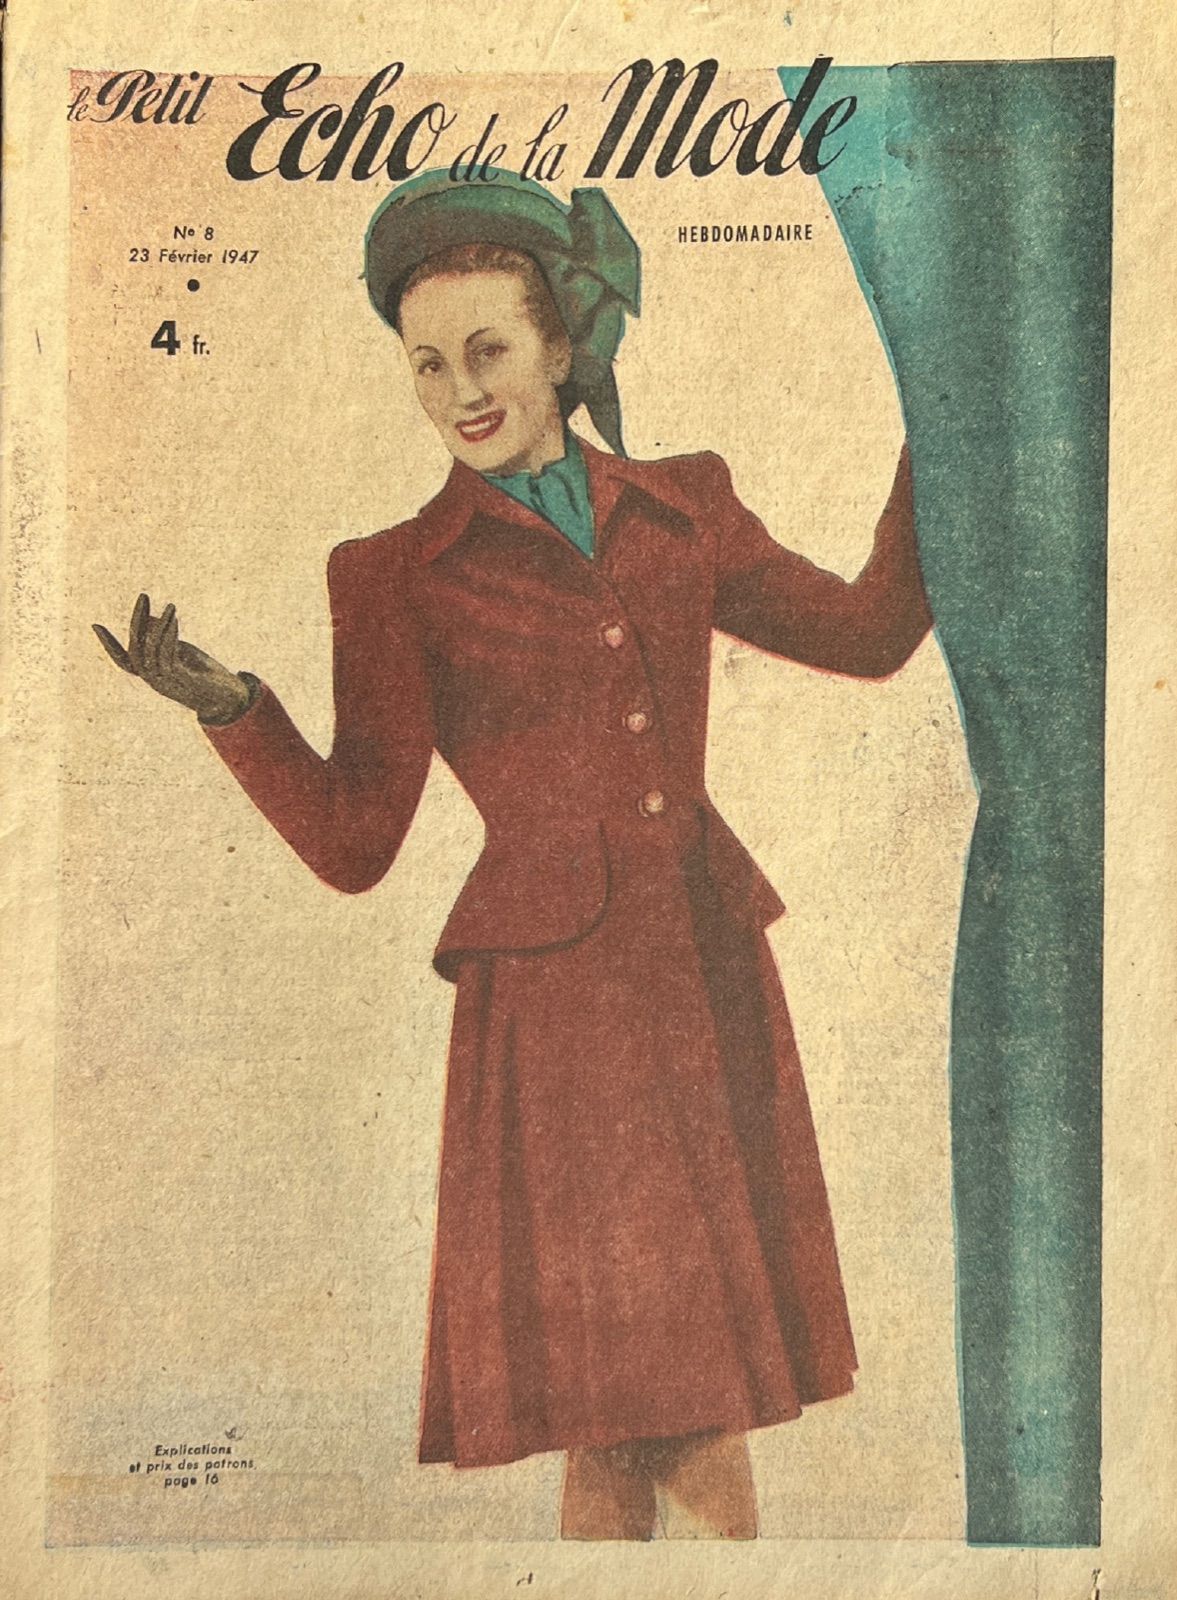
 See it in "Le Petit Écho de la Mode"No. 8 · February 23, 1947
Read the English translation of the instructions
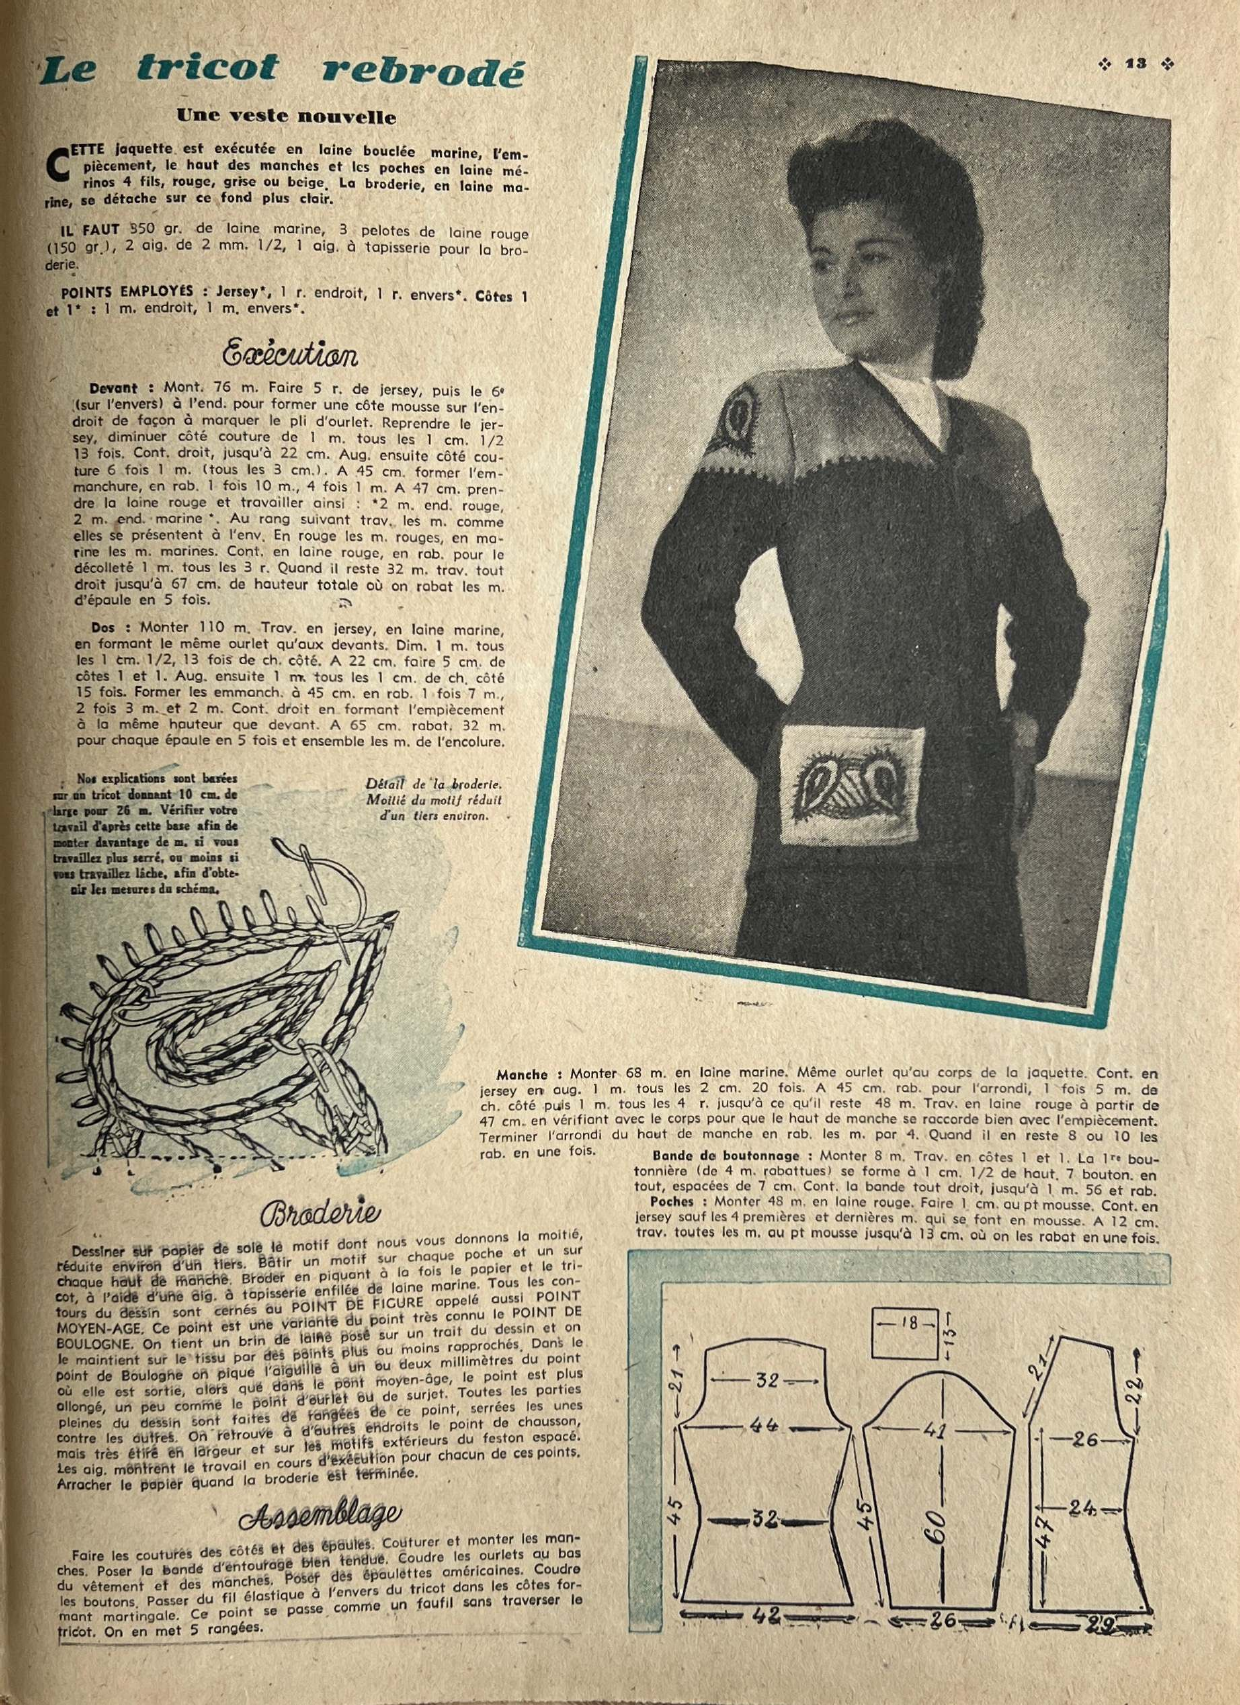
Re-embroidered Knitting — A New Jacket This jacket is worked in navy bouclé wool, with the yoke, the top of the sleeves, and the pockets in 4-ply merino wool, in red, grey, or beige. The embroidery, in navy wool, stands out against this lighter background. YOU WILL NEED: 350 g of navy wool (12.3 oz), 3 balls of red wool — 150 g (5.3 oz), 2 knitting needles 2.5 mm in diameter (≈ US 1½), 1 tapestry needle for the embroidery. STITCHES USED: Stocking stitch*, 1 row knit, 1 row purl*. Rib 1x1*: 1 st. knit, 1 st. purl*. Working the pieces Front: Cast on 76 sts. Work 5 rows in stocking stitch, then the 6th row (on the wrong side) in knit, to form a garter ridge on the right side marking the hem fold line. Return to stocking stitch, decreasing 1 st. at the side seam every 1.5 cm (½ in), 13 times. Continue straight until the piece measures 22 cm (8¾ in). Then increase 1 st. at the side seam 6 times (every 3 cm/1¼ in). At 45 cm (17¾ in), shape the armhole, binding off 10 sts. once, then 1 st. 4 times. At 47 cm (18½ in), join the red wool and work as follows: *2 sts. knit in red, 2 sts. knit in navy*. On the following row, work the stitches as they appear on the wrong side: the red stitches in red, the navy stitches in navy. Continue in red wool, binding off for the neckline 1 st. every 3 rows. When 32 sts. remain, work straight until the piece measures 67 cm (26½ in) in total height, then bind off the shoulder stitches in 5 stages. Back: Cast on 110 sts. Work in stocking stitch, in navy wool, forming the same hem as on the front. Decrease 1 st. every 1.5 cm (½ in), 13 times on each side. At 22 cm (8¾ in), work 5 cm (2 in) of rib 1x1. Then increase 1 st. every 1 cm (½ in) on each side, 15 times. Shape the armholes at 45 cm (17¾ in), binding off 7 sts. once, then 3 sts. twice, then 2 sts. Continue straight, forming the yoke at the same height as the front. At 65 cm (25½ in), bind off 32 sts. for each shoulder in 5 stages, and graft the neckline stitches together. Sleeve: Cast on 68 sts. in navy wool. Same hem as on the body of the jacket. Continue in stocking stitch, increasing 1 st. every 2 cm (¾ in), 20 times. At 45 cm (17¾ in), bind off for the curve: 5 sts. once on each side, then 1 st. every 4 rows until 48 sts. remain. Work in red wool from 47 cm (18½ in), checking against the body so the sleeve cap lines up correctly with the yoke. Finish shaping the sleeve cap by binding off 4 sts. at a time; when 8 or 10 sts. remain, bind them off all at once. Buttonband: Cast on 8 sts. Work in rib 1x1. The first buttonhole (4 sts. bound off) is formed at 1.5 cm (½ in) from the start; 7 buttonholes in all, spaced 7 cm (2¾ in) apart. Continue the band straight until it measures 156 cm (61½ in), then bind off. Pockets: Cast on 48 sts. in red wool. Work 1 cm (½ in) in garter stitch. Continue in stocking stitch, except for the first and last 4 stitches, which are worked in garter stitch. At 12 cm (4¾ in), work all stitches in garter stitch until the piece measures 13 cm (5 in), then bind off all at once. Our instructions are based on a gauge of 10 cm (4 in) wide for 26 stitches. Check your work against this gauge, casting on more stitches if you knit tightly, or fewer if you knit loosely, in order to obtain the measurements shown in the diagram. Embroidery Draw the motif we give you (half of it, reduced by about a third) onto tissue paper. Baste a motif onto each pocket and one onto each sleeve top. Embroider by stitching through both the paper and the knitting together, using a tapestry needle threaded with navy wool. All the outlines of the design are outlined in FIGURE STITCH, also called MEDIEVAL STITCH. This stitch is a variant of the well-known BOULOGNE STITCH. In it, a strand of wool is laid along a line of the design and held down onto the fabric with small stitches spaced more or less closely together. In Boulogne stitch, the needle is inserted one or two millimetres from the point where the thread emerges, whereas in medieval stitch, the stitch is longer, somewhat like a hemming or overcasting stitch. All the solid parts of the design are filled with rows of this stitch, worked closely side by side. Elsewhere, the same stitch appears in the outer motifs as a widely spaced scallop stitch, but stretched much wider; the diagrams show the stitch in progress for each of these techniques. Tear away the paper once the embroidery is finished. Finishing Sew the side and shoulder seams. Sew and set in the sleeves. Attach the front band, keeping it well stretched. Sew the hems at the bottom of the garment and of the sleeves. Attach shoulder pads. Sew on the buttons. Thread elastic through the wrong side of the knitting, in the ribbed section forming the back waist tab. This is done like a line of tacking stitches, without going through to the right side of the knitting. Work 5 rows of this.